
Article
How to Build a Raised Bed
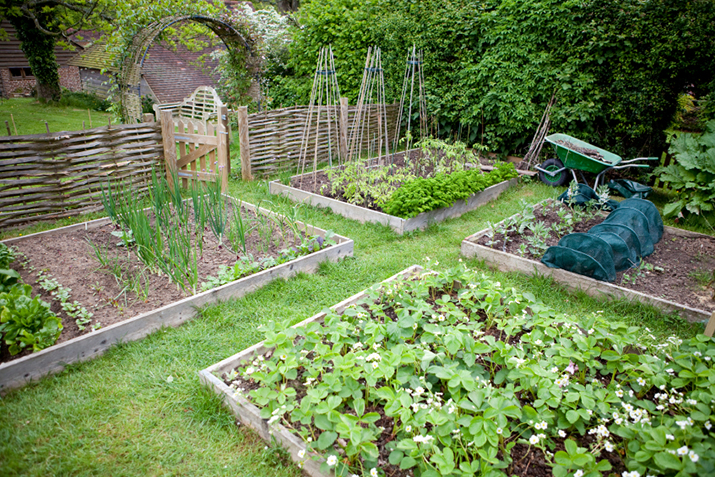
Raised beds are a great way to intensively garden without taking up too much space. They are perfect for urban small-space gardens, but also have advantages for gardeners with more room. Their benefits are numerous.
The soil in raised beds drains water fast, a boon in heavy soils, and warms up quickly in spring, making for earlier planting. If you don’t step into the beds, the soil structure stays loose, allowing roots to extend deeply into the soil, making them perfect for crops like carrots and beets. They allow you to concentrate your watering, weeding, and fertilizing into a smaller space. This means you can get more production from your garden with less weeding and care.
Just keep in mind that if you’re gardening on sandy soil, you may want to avoid raised beds or install drip irrigation, since the soil in them will dry out faster than normal. But for all others, raise up the soil! There are two general types of raised beds: permanent and temporary. Let’s look at each.
Permanent beds
Permanent raised beds are usually supported by a long-lasting material. You can use rot-resistant wood such as cedar, bricks, plastic wood, rocks, or cement blocks. Don’t use treated woods because of concern about harmful chemicals leaching into your soil.
- Locate the bed in a sunny spot on top of soil, grass, or even concrete.
- If building the bed on soil or grass, improve drainage by loosening the soil at the bottom of the bed with a shovel or spading fork. I like to kill the grass first by laying down four layers of black and white newspaper, then covering it with soil. The newspaper helps prevent grass and weeds from growing in the raised bed and decomposes over time.
- If building on top of an impermeable surface, such as concrete or asphalt, consider making the beds a few inches taller to compensate for the lack of natural soil.
- To create a bed, build the frame so that it’s at least 8 to 10 inches deep, no more than 3 to 4 feet wide, and as long as you like. While rectangles and square shapes are most common, you can get creative with ovals and other shapes. Just be sure the width isn't more than 3 to 4 feet wide. Anything wider means you’ll have to step in the bed to weed, water, and fertilize. Walking on the soil will compact it, reducing root growth.
- If you use wood, attach the pieces together with wood screws instead of nails for better holding. Slow the rotting process by painting the wood with an earth-friendly preservative, such as linseed oil or borax-based treatment.
- Fill the bed to the top with a 50:50 mixture of compost and topsoil. Have a soil test done to determine if your native soil could benefit from amendments to increase fertility or change the pH. Gardeners in urban locations may need to test for lead and other heavy-metal contaminants. The soil may settle after a few days, so you may have to add more.
Temporary beds
- Shovel garden soil into raised beds, or bring in a mixture of compost and topsoil. Beds can be any shape you desire: rectangular, curved, or even round.
- Make the beds 8- to 10-inches deep and no more than 3 to 4 feet wide.
- Remove sticks, rocks, and other debris, and rake the tops of the beds smooth and flat.
- You can build a cold frame or shelter to fit on top of a raised bed that will extend the growing season earlier and later. The frame pops off during the summer season.
- Plant tall plants on the north side of the raised bed so they don’t shade lower plants.
- Water regularly, since raised beds will dry out faster than level gardens. Place shredded bark, straw or any organic mulch around established plants to conserve soil moisture and prevent weed growth.
Information courtesy of the National Gardening Association, www.garden.org.
You may also like
|
|
 |
 |