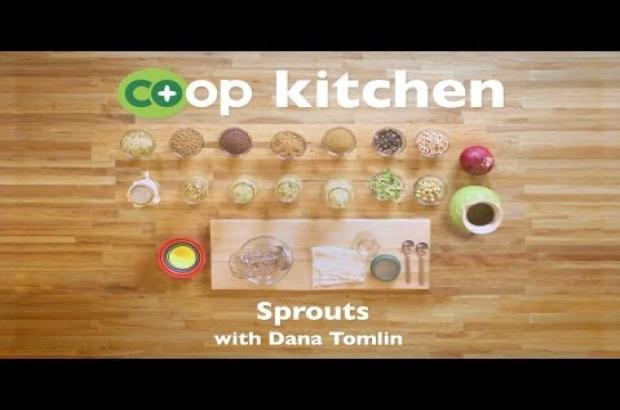
Grow Your Own Sprouts
Dana Tomlin walks us through the quick and easy process of sprouting in a jar. Most of the supplies required are already in your home. This process releases nutrients in a variety of seeds and creates baby plants that are delicious and nutritious to add to your foods.
Find more Co+op Kitchen videos featuring information and easy recipes for making delicious meals at home, as well as handy hints from chefs and food enthusiasts who love sharing their passion for great food.
Video Transcript
Hi. My name is Dana Tomlin, and I am the deli manager at Wheatsville Food Co-op in Austin, Texas. What I'm going to do today is show you guys how to sprout your own food.
The fantastic thing about this is you basically get to grow a garden in a mason jar. It's amazingly simple and really easy to do.
So, what do you need to sprout? Not a whole lot. You need a mason jar. You want a lid that has perforations so that air can get in and water can get out. This is something that you can buy at your local natural foods store or co-op.
You can also use cheesecloth for that. Again, anything that's perforated.
I'm going to take about a quarter cup of alfalfa seeds. You're going to put it in this jar, and you're going to awaken the seeds by soaking them in water. And I'm going to put 2 to 3 times the amount of water that I have for seeds. The seeds tend to clump together, and you want to make sure that all the seeds get exposed to the water. This is what helps start this process for them, and you know really it's like watering your garden really well.
Then I'm going to take my cheesecloth. Do it single layer. Put it on top. And I'm going to take the O-ring for the mason jar and just screw it on.
Let these soak for about 4 hours. And then when I come back to it, it's going to be ready to drain.
I started these seeds about 2 days ago. You can see the little tails on them. I rinse them once in the morning before I go to work, and then once when I get home.
So, it's time to rinse these because I haven't done that today. So, I'm just going to pour some water in here. And it's okay to just pour it over your screen. It's a little easier that way I think. That way you don't have to take it off.
And then you just want to shake it up. Make sure you give these seeds a really good little bath. And pour it out.
It's okay if it's still dripping because what you're going to do, is you're going to store it in something like this. So, I've got a little bowl here that keeps the mason jar propped up.
Never ever ever ever ever ever ever do your mason jar like this, because this will cause no air to go in and then the sprouts will actually suffocate and die.
I like to store mine on the cabinet. That way it's easy. I can see it and get to it. And in order to make it dark, I just cover it up with a cloth, and that takes care of it.
And then at the very end, the last thing that you do, is you take your sprouts and you set them in a window, not with a lot of direct sun, depending on how much sun you get. Make sure that the leafy green part of the seeds like this get exposed to the sun so that they fill up with chlorophyll, which gives them more nutrients and makes them really yummy for you.
All right, so now that you've grown your sprouts, I'm going to show you a few simple things that you can do with it.
A simple salad. Sprouts are really nice because you can use them in any place that you would use lettuce. You can use them in addition or in place of. Put them on top like that. Ah, look how nice that looks. If you have never had a sandwich with sunflower sprouts on it, you have not had a sandwich yet. You know you want this for lunch.
I'm Dana Tomlin, deli manager at Wheatsville Food Co-op in Austin, Texas, for Co+op, stronger together.
You may also like
|
|
|
 |